Transforming Your Living Room: A Comprehensive Guide to Interior Design Wall Painting
The living room, often the heart of a home, is more than just a collection of furniture; it’s a reflection of personality, a sanctuary for relaxation, and a stage for social gatherings. And at the very core of its ambiance lies the color and finish of its walls. Painting your living room walls is arguably the most impactful and cost-effective transformation you can undertake. It’s not merely about changing a hue; it’s about altering the mood, enhancing space, reflecting light, and setting the entire design narrative for your home.
This comprehensive guide delves into the art and science of painting your living room walls, from the psychology of color to practical application, ensuring your next paint project is a resounding success.
The Psychology and Impact of Color: More Than Just a Shade
Before dipping a brush, it’s crucial to understand the profound psychological impact of color. Every hue evokes a different feeling, and understanding these associations is key to creating the desired atmosphere in your living space.

- Warm Colors (Reds, Oranges, Yellows): These colors are energizing, inviting, and can make a large room feel cozier. Reds signify passion and energy, oranges are enthusiastic and friendly, while yellows radiate happiness and optimism. However, too much intensity can be overwhelming; often, muted or pastel versions work best for expansive wall coverage in a living room.
- Cool Colors (Blues, Greens, Purples): Serene, calming, and expansive, cool colors are perfect for creating a tranquil retreat. Blues evoke peace and stability, greens symbolize nature and renewal, and purples (especially lighter lavenders) suggest sophistication and creativity. These colors can make a small room feel larger and airier.
- Neutrals (Grays, Beiges, Whites, Greiges): The ultimate chameleons of the color world, neutrals provide a versatile backdrop that allows furniture, art, and textiles to shine. They offer a sense of timeless elegance and sophistication.
- Whites: Can be crisp and modern, or soft and inviting depending on their undertones (warm whites with yellow/pink undertones, cool whites with blue/gray undertones). They make a space feel bright and open.
- Grays: Range from cool, industrial tones to warm, comforting charcoal. They offer a contemporary yet classic foundation.
- Beiges/Tans: Provide warmth and comfort, connecting well with natural materials.
- Greiges: A popular blend of gray and beige, offering the best of both worlds – warm yet modern.

Considering Light: The amount and type of natural and artificial light in your living room dramatically affect how a color appears.
- North-facing rooms: Tend to have cooler, dimmer light. Warm colors can counteract this, making the room feel more inviting.
- South-facing rooms: Receive abundant, warm light throughout the day. Cool colors can help balance this warmth, preventing the room from feeling too hot or glaring.
- East-facing rooms: Get bright morning light, which turns cooler in the afternoon.
- West-facing rooms: Receive warm, golden light in the afternoon and evening.
Always test colors in situ, observing them at different times of day to see how they truly behave.

Choosing Your Palette: Beyond the Swatch
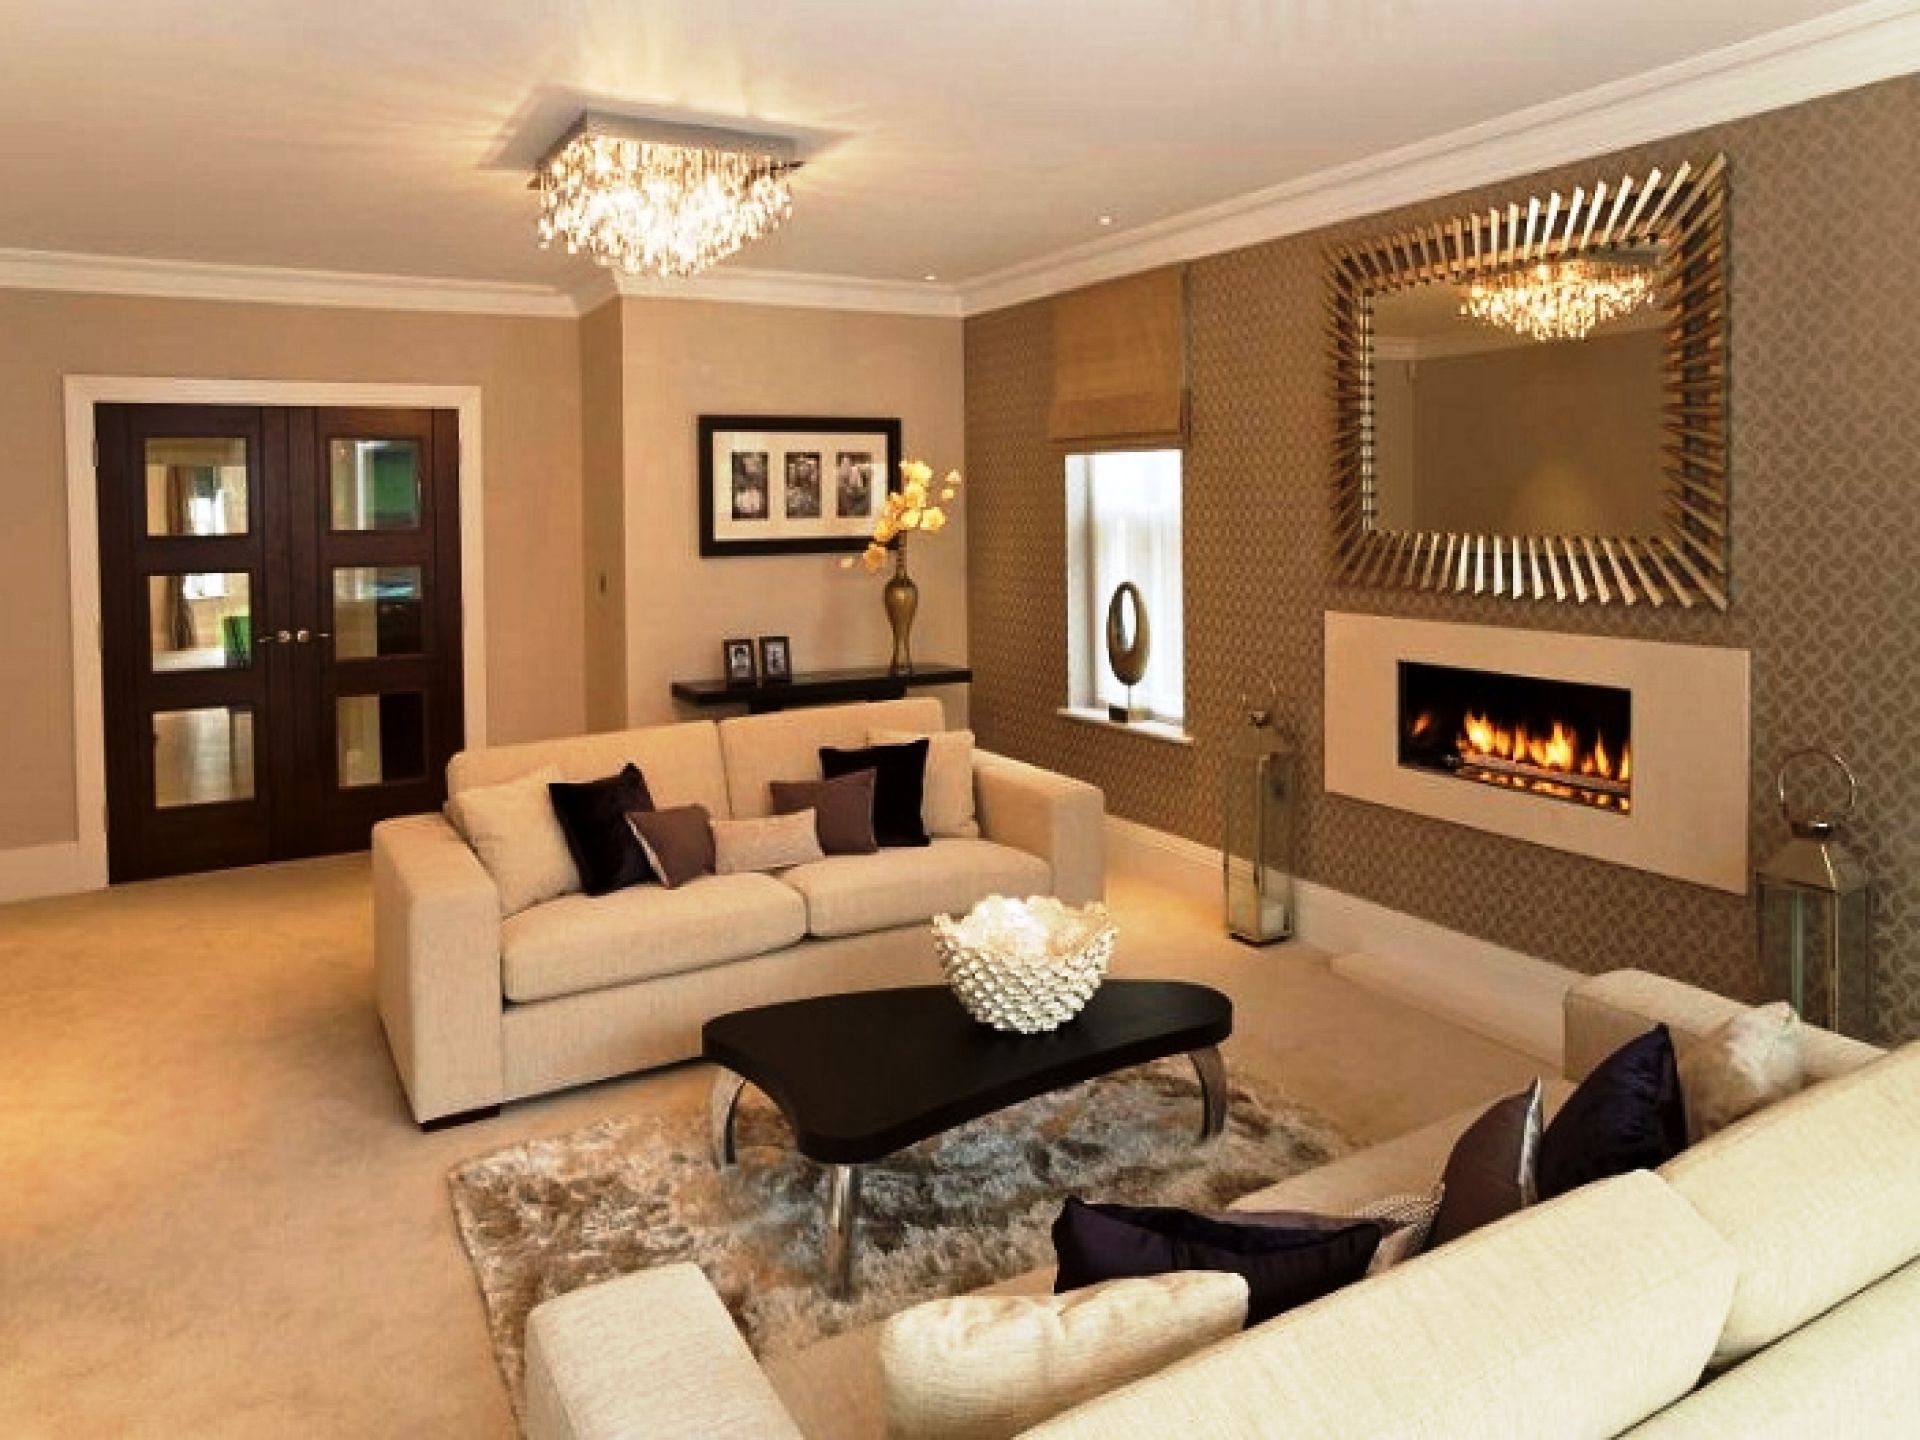
Selecting the perfect paint color involves more than just picking a shade you like from a tiny chip. It’s about creating a harmonious environment that complements your existing decor and lifestyle.
- Assess Existing Elements: Your living room likely already has elements that cannot easily be changed, such as flooring (hardwood, carpet, tiles), large furniture pieces (sofa, armchairs), and built-in features (fireplace, bookshelves). Use these as your starting point. Do they have warm or cool undertones? Are they bold or muted? Your wall color should ideally complement or subtly contrast these elements.
- Seek Inspiration: Browse interior design magazines, Pinterest, Instagram, and design blogs. Save images of living rooms that resonate with you. Pay attention to the wall colors, but also how they interact with the furniture, lighting, and accessories.
- Consider the Mood: What feeling do you want to evoke? A calm sanctuary? A vibrant social hub? A sophisticated retreat? Let your desired mood guide your color choices.
- The Test Swatch is Your Best Friend: This cannot be stressed enough. Purchase sample pots of your top 2-3 color choices. Paint large swatches (at least 2×2 feet) on different walls in the room. Don’t just paint on the existing wall color; if possible, prime a small section first. Observe these swatches throughout the day and night, under different lighting conditions. How does the color shift? Does it still appeal to you?
- Understand Undertones: This is where many DIY painters go astray. Colors are rarely "pure." A gray might have blue, green, or even purple undertones. A white might lean yellow, pink, or gray. These subtle undertones will become more apparent when painted on a large surface and can clash with existing decor if not carefully considered. If you’re struggling, consult a color expert or use online tools that help identify undertones.
- Explore Color Schemes:
- Monochromatic: Using different shades, tints, and tones of a single color. Creates a sophisticated, calming, and cohesive look.
- Analogous: Using colors next to each other on the color wheel (e.g., blue, blue-green, green). Offers a harmonious and gentle transition.
- Complementary: Using colors opposite each other on the color wheel (e.g., blue and orange). Creates high contrast and energy, often best used with one dominant color and the other as an accent.
- Neutral with Pop: A popular approach where neutral walls provide a calm backdrop, and vibrant accessories or a single accent wall introduce color and personality.

Techniques for Visual Interest: Beyond the Solid Wall
While a solid, beautifully chosen color can be incredibly impactful, there are techniques to add further visual interest and personality to your living room walls.
- The Accent Wall: A strategically placed accent wall can draw attention to a focal point (like a fireplace or a gallery wall), define a zone within an open-plan space, or introduce a bold color without overwhelming the room. Choose a wall that naturally stands out or one you wish to highlight. It can be painted in a deeper shade of the main wall color, a contrasting complementary color, or even a different texture or pattern.
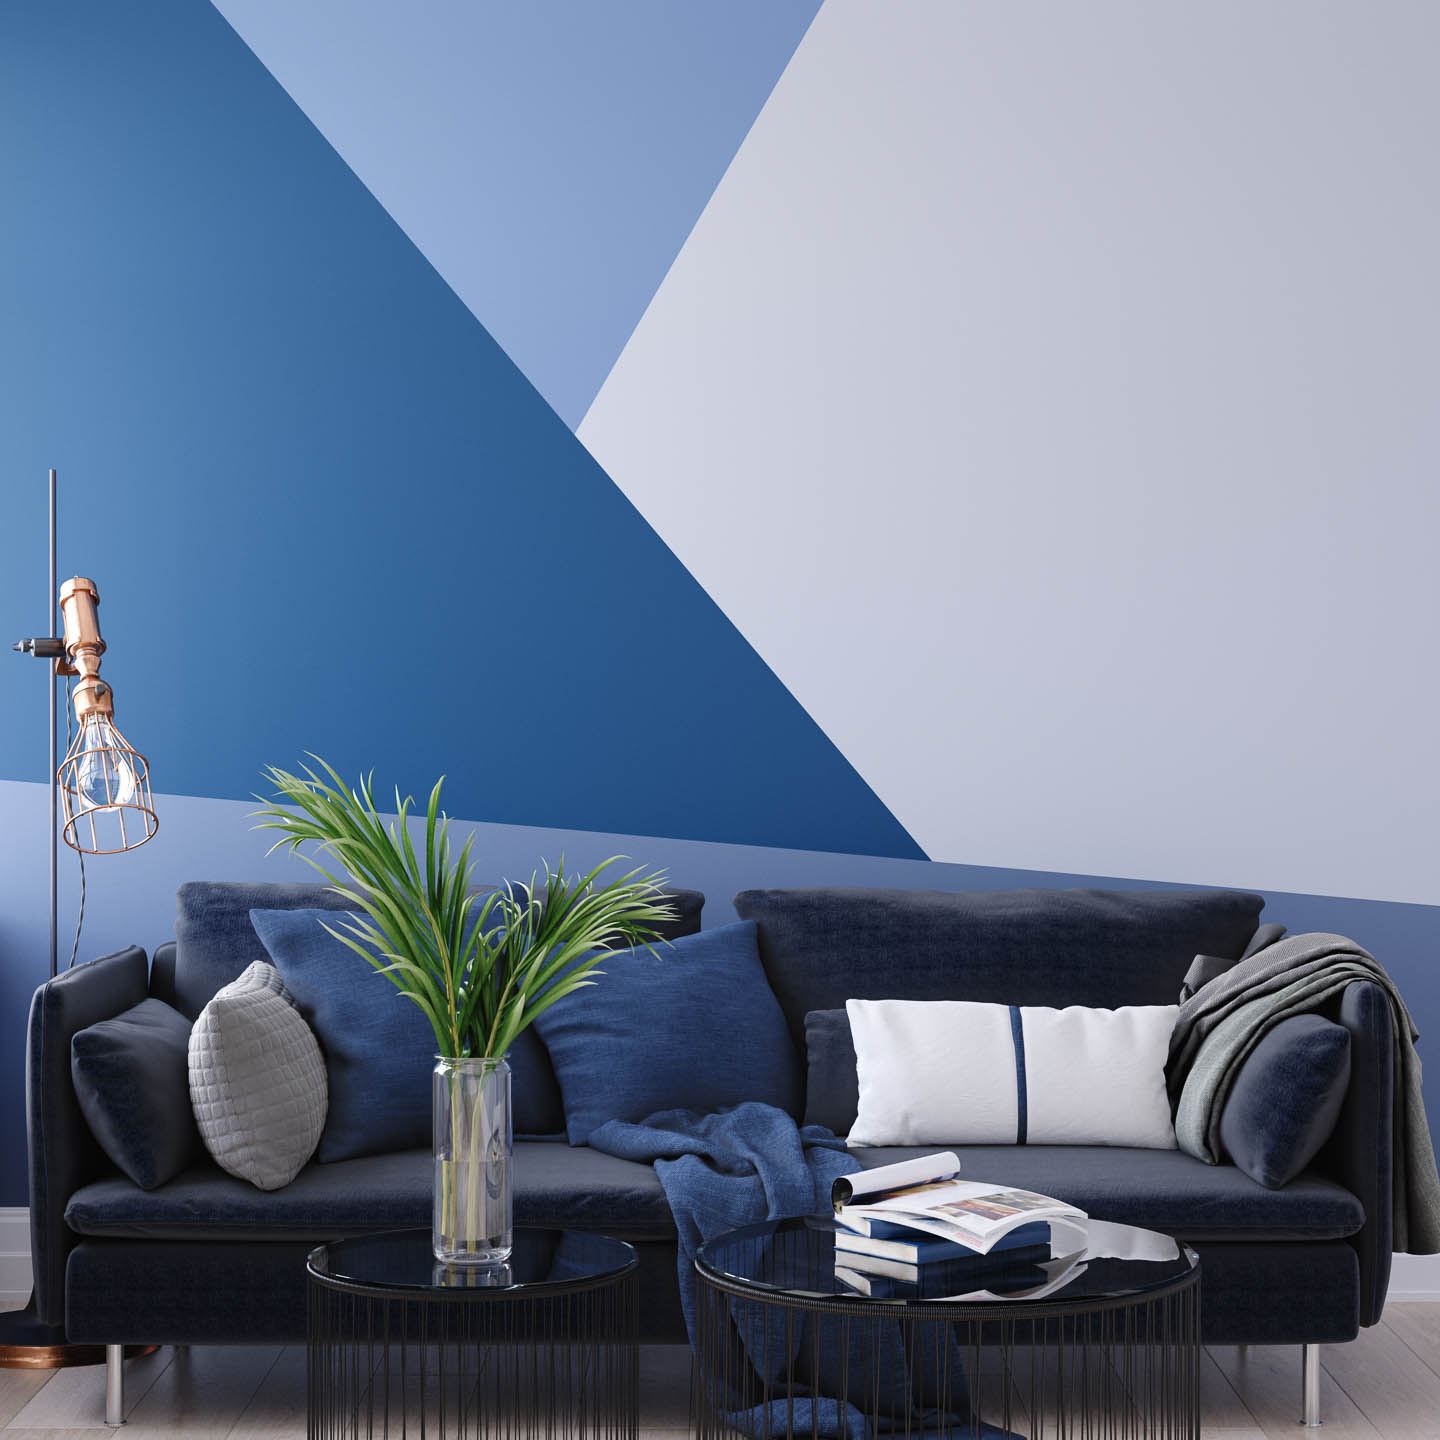
- Stripes and Geometric Patterns: For the adventurous, painted stripes (horizontal or vertical) or geometric patterns can add dynamic energy. Horizontal stripes can make a room feel wider, while vertical stripes can make ceilings appear higher. Careful planning, precise measuring, and good quality painter’s tape are essential for crisp lines.
- Textured Paint: Special paints that mimic finishes like suede, sand, or even concrete can add tactile interest and depth to a wall, creating a more sensory experience.
- Ombré or Color Washes: A gradual fade from one color to another (ombré) or a translucent wash of color can create a soft, ethereal, or artistic effect, particularly suitable for bohemian or serene living spaces.
- Stenciling or Murals: For a truly unique statement, stenciling allows for repeatable patterns, from subtle damasks to intricate florals. A hand-painted mural, while a significant undertaking, can transform a wall into a work of art and a conversation starter.
The Art of Preparation: Don’t Skip This!
The secret to a flawless paint job lies overwhelmingly in the preparation. Skimping on this step will inevitably lead to a disappointing finish, regardless of how expensive your paint is.
- Clear the Room: Remove all furniture, or move it to the center of the room and cover it completely with plastic sheeting. Take down all wall hangings, outlet covers, and switch plates.
- Clean the Walls: Dust and grime prevent paint from adhering properly. Wash walls with a mild detergent (like TSP substitute) and water solution. Rinse thoroughly and allow to dry completely.
- Repair Imperfections: Patch any holes, cracks, or dents with spackle or joint compound. Sand smooth once dry. For larger imperfections, multiple thin coats might be necessary.
- Sand Lightly: A light sanding of the entire wall (especially if it has a sheen) provides a "tooth" for the new paint to grip onto, ensuring better adhesion and a smoother finish. Wipe away all dust with a damp cloth.
- Tape and Cover: Use high-quality painter’s tape along baseboards, door frames, window frames, and ceiling lines. Press firmly to ensure a tight seal. Lay down drop cloths or old sheets to protect your floors.
- Prime, Prime, Prime:
- Why prime? Primer creates a uniform surface for the paint, seals porous surfaces (like new drywall or patched areas), blocks stains, and improves paint adhesion and durability. It also ensures the true color of your paint comes through, especially when going from a dark color to a light one, or vice versa.
- Types: There are primers for different needs – stain-blocking, high-hide, bonding primers for tricky surfaces. A good quality all-purpose primer is often sufficient for typical living room walls. Allow primer to dry completely according to manufacturer instructions.
The Painting Process: A Step-by-Step Guide
With meticulous prep work done, the actual painting becomes far more enjoyable and efficient.
- Gather Your Tools: High-quality brushes (angled for cutting in), rollers (nap length depends on wall texture – shorter for smooth walls, longer for textured), paint trays, stir sticks, a ladder or step stool, and of course, your chosen paint.
- Ventilate: Open windows and doors to ensure good airflow.
- Stir the Paint: Thoroughly stir your paint before and during use to ensure color consistency.
- Cut In: Using your angled brush, carefully paint a border (about 2-3 inches wide) along all edges – where walls meet the ceiling, corners, and around trim. This is called "cutting in" and requires a steady hand.
- Roll the Walls: Pour paint into your roller tray. Load your roller evenly, rolling it back and forth on the tray’s textured ramp. Apply paint in "W" or "M" patterns, then fill them in with overlapping vertical strokes. Maintain a wet edge to avoid lap marks.
- Apply Multiple Coats: Most paints require two coats for full coverage and color depth. Allow the first coat to dry completely (check paint can for drying times) before applying the second. Sometimes a third coat may be necessary, especially with dramatic color changes or vibrant hues.
- Remove Tape: While the paint is still slightly damp (but not wet), carefully pull off the painter’s tape at a 45-degree angle. If you wait until it’s completely dry, the paint might peel with the tape.
- Clean Up: Clean brushes and rollers immediately with soap and water (for latex paint) or mineral spirits (for oil-based paint). Properly dispose of any remaining paint and supplies.
Integrating Your New Walls: The Finishing Touches
Once the paint is dry and the room is put back together, your newly painted walls will be the star. Now, it’s time to ensure everything else complements them.
- Reassess Furniture Arrangement: With fresh walls, you might find a new furniture layout works better. Consider how your sofa, chairs, and tables interact with the new color and light.
- Art and Decor: Your walls are now a fresh canvas. Rehang existing art, or consider new pieces that harmonize with the new color scheme. Mirrors can reflect light and expand the sense of space.
- Textiles: Rugs, throw pillows, blankets, and curtains are powerful tools to layer in complementary or contrasting colors and textures. They can soften a bold wall color or add pops of vibrancy to a neutral one.
- Lighting: Both natural and artificial lighting play a huge role. Ensure window treatments allow optimal natural light. Evaluate your lamps – do their shades cast a warm or cool glow? Consider adding dimmer switches to adjust the mood.
- Greenery: Plants bring life, freshness, and natural texture to any room. Their vibrant greens often provide a beautiful contrast or complement to a painted wall.
Conclusion
Painting your living room walls is more than just a home improvement project; it’s an act of design, an expression of personal style, and a powerful way to transform the very essence of your living space. From the initial spark of inspiration to the final touch of a perfectly placed accessory, every step contributes to creating a room that not only looks beautiful but also feels right.
By thoughtfully considering color psychology, meticulously preparing your surfaces, and executing the painting process with care, you can achieve professional-looking results that infuse your living room with renewed energy, comfort, and character. Embrace the power of paint, and watch your living room become the vibrant, inviting heart of your home you’ve always envisioned.
Transforming Your Living Room: A Comprehensive Guide to Interior Design Wall Painting | in opo wae, wis opo wae, and on last post i/admin have give some post/articles and many pictures gallery about " The Art of Serenity: Designing Your Modern Living Room for Contemporary Living" if you have not seen it, please check out before seeing this. (just click text in "anchor text" to read or see last post first), I have packed all images collections become 1 gallery images on post and this time i just want to share again from my collections to could be useful :D. These pictures of Transforming Your Living Room: A Comprehensive Guide to Interior Design Wall Painting, I have collected in a fairly long time, and from various media such as the Internet, books, magazines, newspapers, comics, etc like as from search engine and other sources to be used as ideas for you. and these images has combined into one page on 0 Photos/images Gallery below. lets views.. o[^_^]o.Transforming Your Living Room: A Comprehensive Guide to Interior Design Wall Painting pictures collections gallery
Transforming Your Living Room: A Comprehensive Guide to Interior Design Wall Painting is a nice pictures and stock photo for your computer desktop or your smartphone device (ipad, tablet, blackberry, iphone, and other device) and also for your personal use. Free available for desktop wallpaper or additional image collections for your all needs. And was uploaded by admit at date August 1, 2025. You can download it in your computer by clicking download button to save image... have nice day and have fun guys..
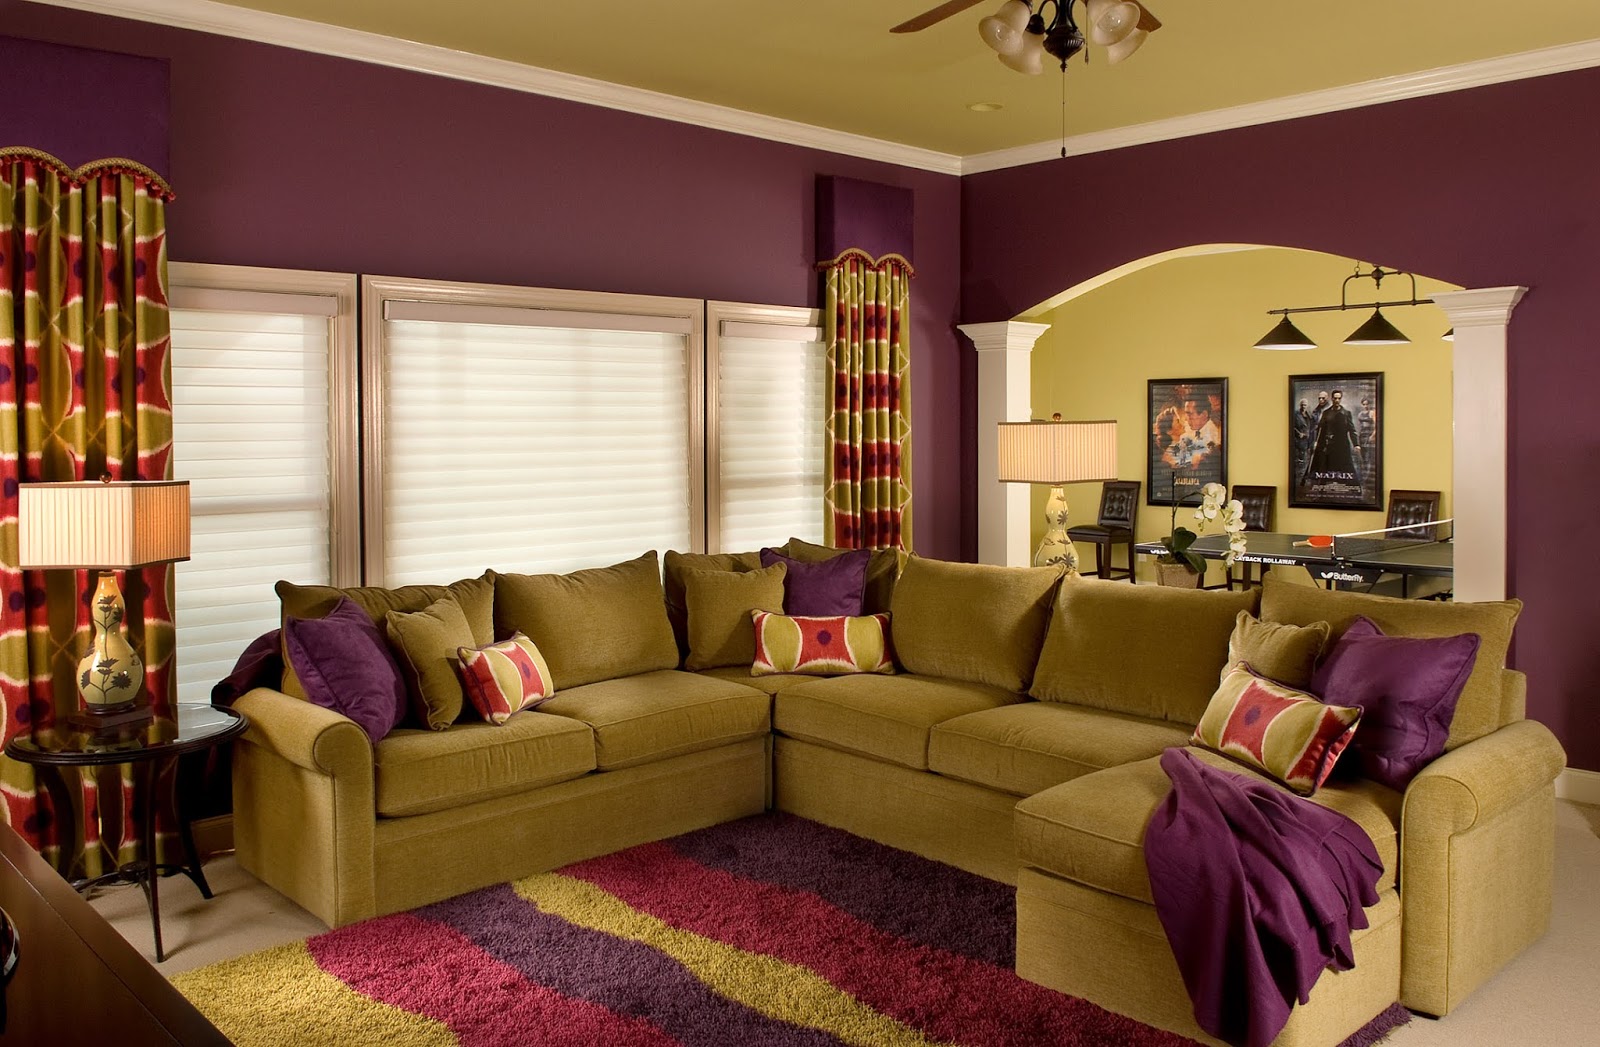
This 1 image in featured post from 0 Photos/images Gallery and awesome picture selections about Transforming Your Living Room: A Comprehensive Guide to Interior Design Wall Painting is available to download. "Download & Save" images/pictures/wallpapers now and this Is one of the post that listed in packed to Category is Living Room Design Ideas directory, with image dimension/resolution size is 1600 × 1047 px and size image/picture file is 327 KB with original link post ID is : https://powae.pw/transforming-your-living-room-a-comprehensive-guide-to-interior-design-wall-painting/. Get download/save images in post and gallery, "download" images or "preview" it on a bigger image for spesification sample in Large size (full attachment size) here : [Download & View to Large size]. Just Simple way, in thumbnail or in Gallery. *Click images to view Large Size.We collect this wonderful image from online and choose one of the best for you. Pictures collection that posted here was carefully chosen and published by author after choosing the ones which are best among the others. So, ultimately we make it and here these list of best image for your inspiration and informational reason regarding the Transforming Your Living Room: A Comprehensive Guide to Interior Design Wall Painting as part of blogsite exclusive updates collection. So, take your time and find the best informations and pictures posted here that suitable with your needs and use it for your own collection and personal use. About Image information: Image has been submitted and You are able to give your opinion as evaluations to our web site value.
Don't forget to comment if you interest with this images, you can share this post to social media like as facebook, twitter, google+, pinterest, stumbleupon, and more. just click social media buttons for share this post Transforming Your Living Room: A Comprehensive Guide to Interior Design Wall Painting Now. :)
Thanks for your visit, I hope you happy come to opo wae, wis opo wae, and get what you're looking for. And hope sometimes you will come back again here. All you need to do is help us develop by discussing this Transforming Your Living Room: A Comprehensive Guide to Interior Design Wall Painting if you like it "leave your comment". have fun, Thank you.


